GCSE Biology - AQA
2.1.6 - Testing For Carbohydrates, Proteins and Lipids
Jump to:
Testing For Carbohydrates, Proteins and Lipids
Chemical tests can be used to identify many different biological molecules.
Testing for glucose
To test for the presence of glucose in a sample, you use a solution called Benedict's solution. First you add Benedict's solution to the sample, then you heat this mixture in a water bath for a few minutes.
Benedict's solution is blue. When heated with glucose it turns brick-red. Therefore, if the solution turns brick-red this shows that glucose is present, and if it stays blue, this shows that glucose is absent.

Testing for glucose using Benedict's solution.
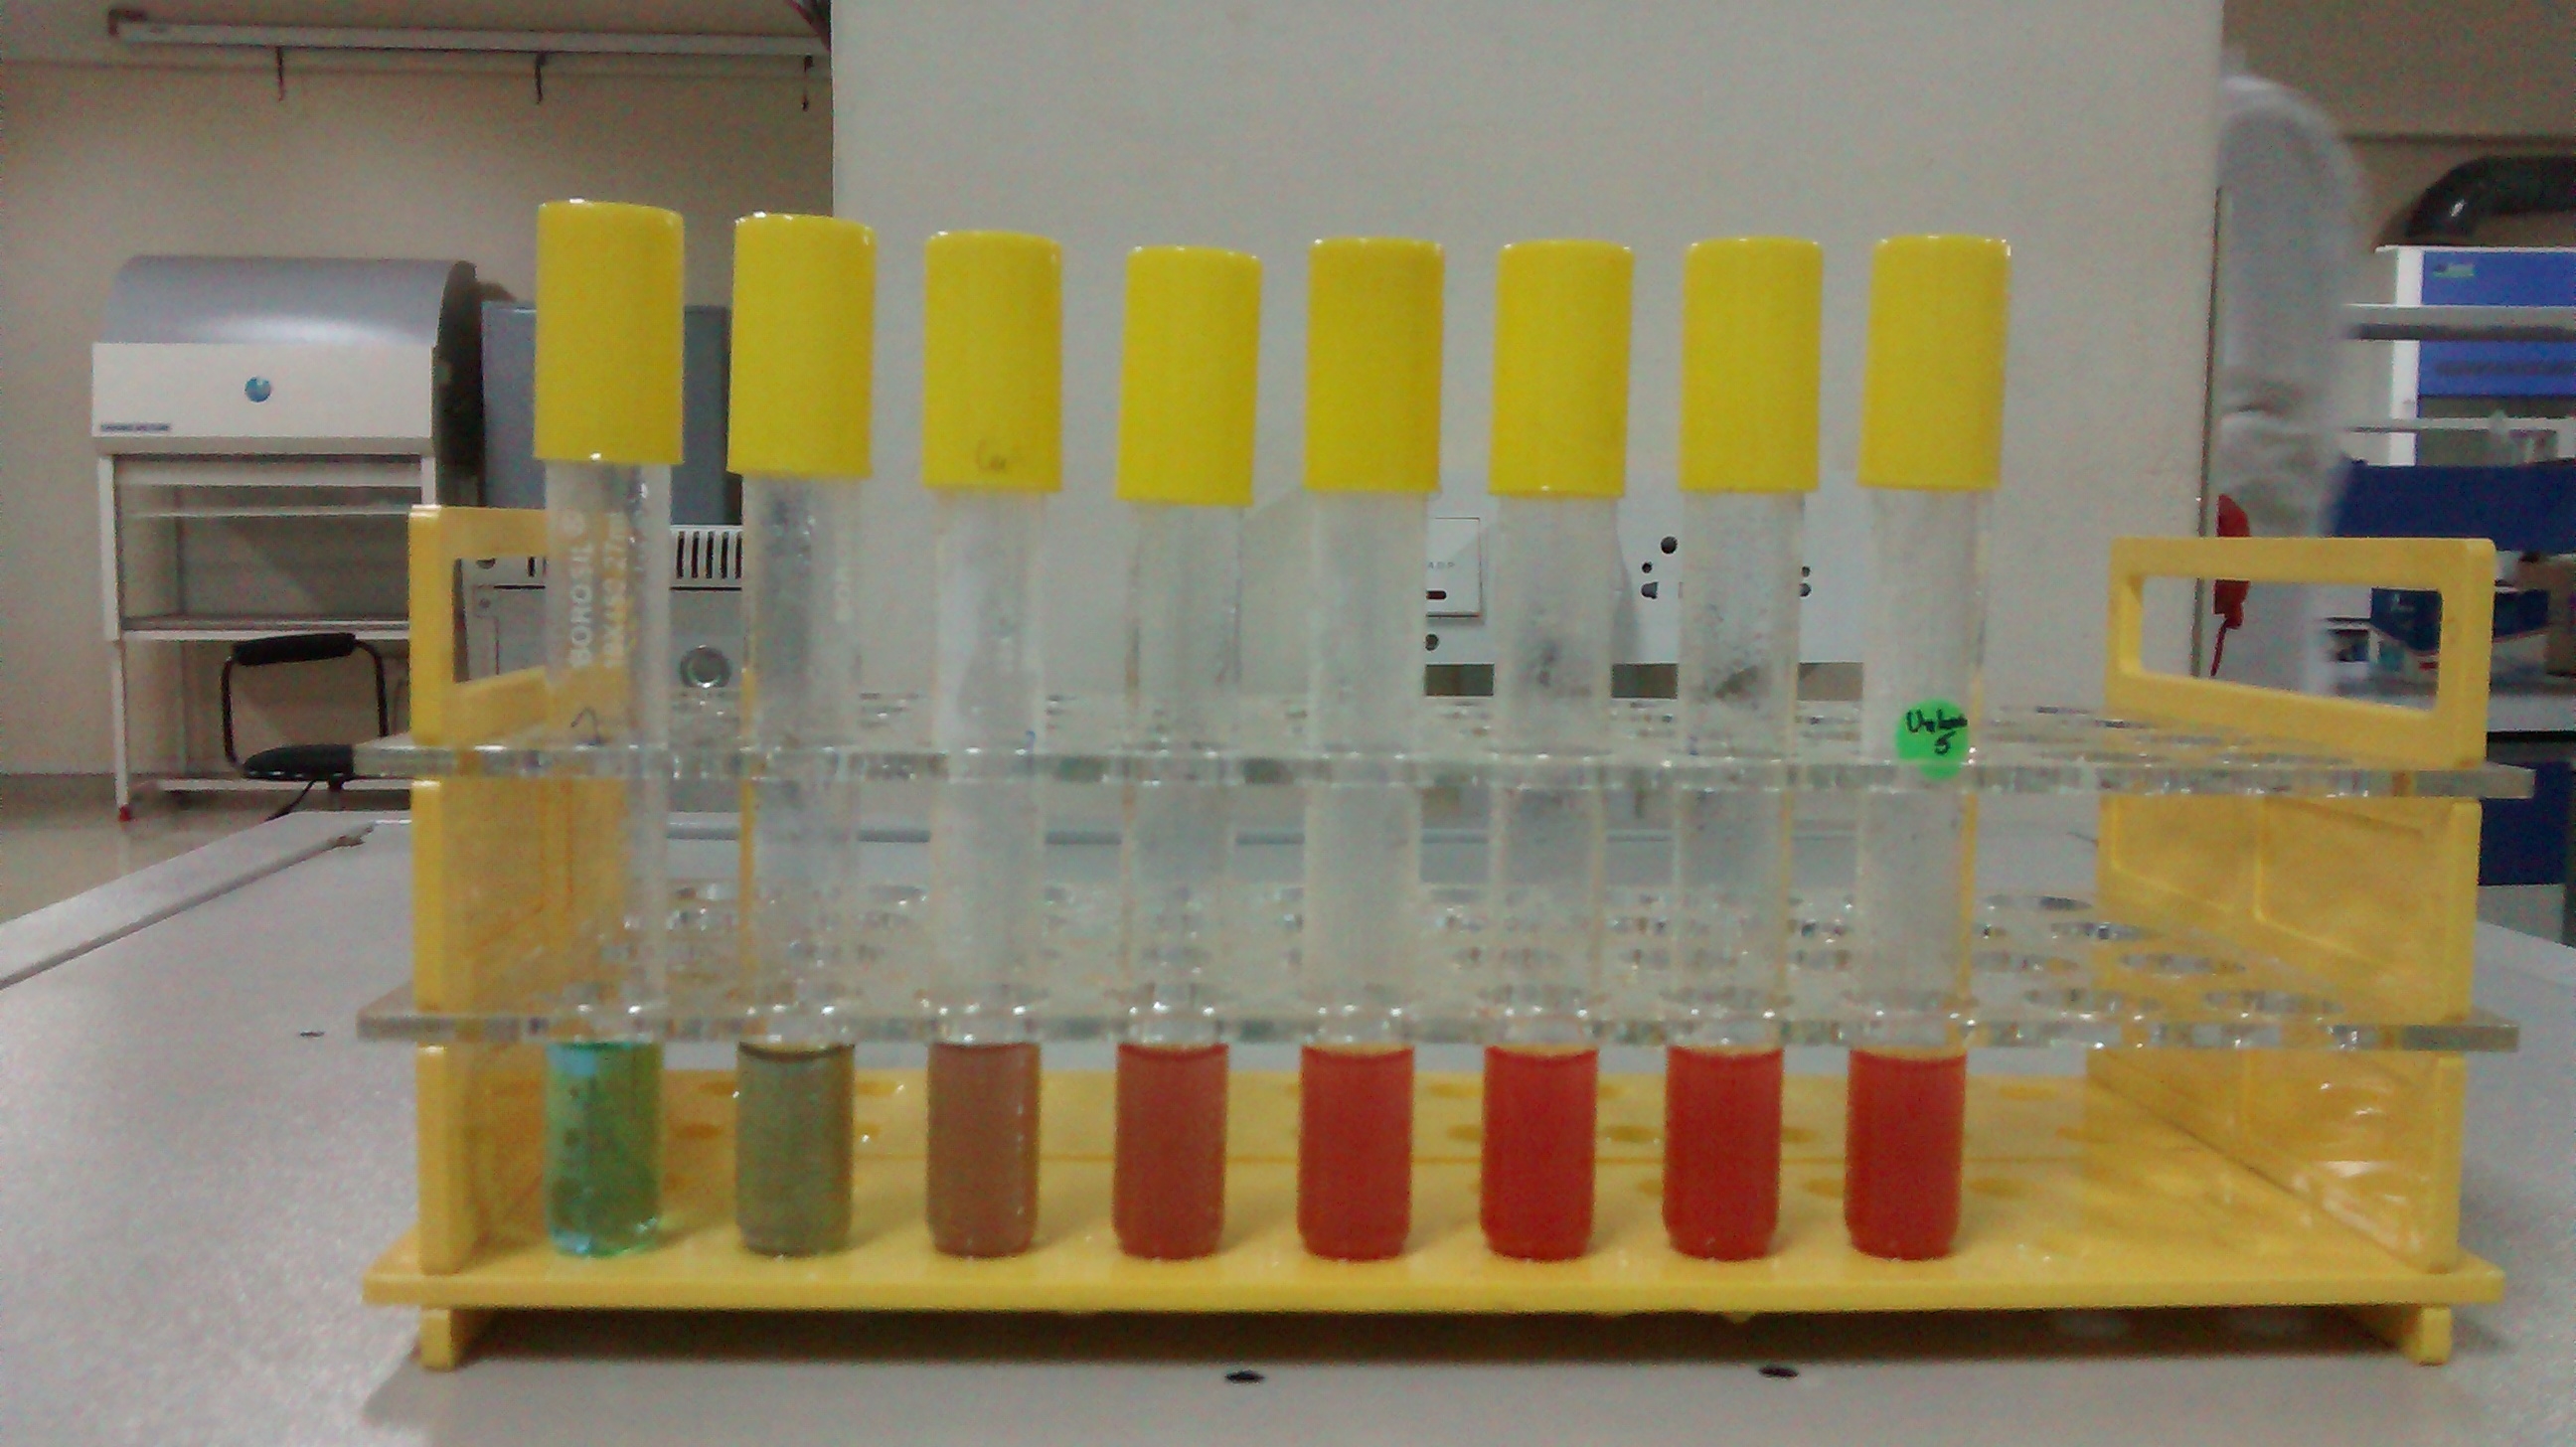
Benedict's solution mixed with glucose solutions of a range of different concentrations. In the tube on the far left, the Benedict's solution has stayed blue, indicating that the glucose concentration is very low or zero. Moving to the right, the colour becomes slightly more red in each tube - indicating that the glucose concentration is slightly higher each time.
(Note: there are other substances besides glucose that can turn Benedict's solution brick-red - including other sugars. Therefore, if it turns brick-red this doesn't completely prove that glucose is present. However, if it remains blue this does prove that glucose is absent).
Testing for starch
To test for the presence of starch in a sample, you add a few drops of iodine solution (iodine dissolved in water).
Iodine solution is yellow-brown. In the presence of starch it turns blue-black.
Therefore, if the iodine changes colour to blue-black, this shows that starch is present, and if it stays yellow-brown then this shows that starch is absent.

Testing for starch using iodine solution.
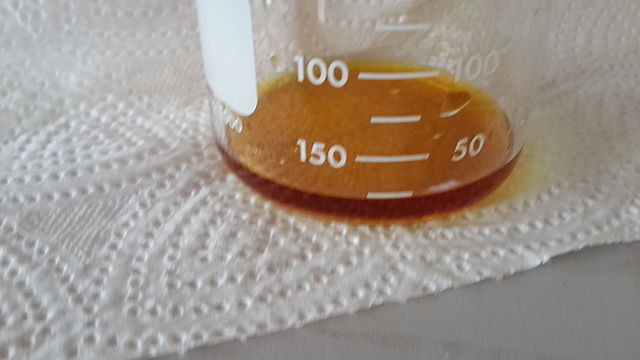
Some iodine solution in a beaker. It is yellow-brown. Image: Farhang Amini via Wikimedia Commons (CC BY-SA 4.0 - https://creativecommons.org/licenses/by-sa/4.0/deed.en)
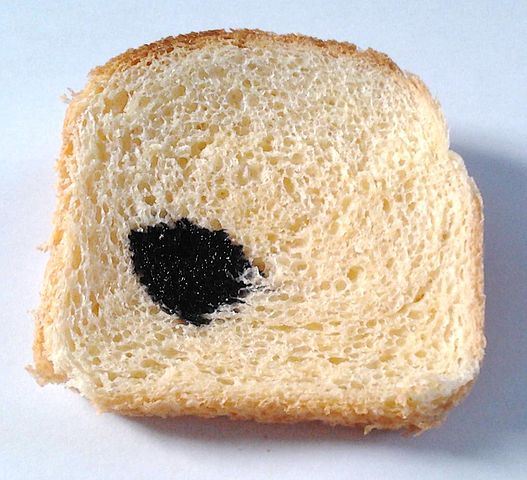
A drop of iodine solution on a slice of bread. The iodine solution has turned blue-black because the bread contains starch.
Testing for protein
To test for protein, you add a chemical called the Biuret reagent.
The Biuret reagent is blue. In the presence of protein it turns purple.
Therefore, if it turns purple, this shows that protein is present, and if it stays blue this shows that protein is absent.

Testing for protein using the Biuret reagent.
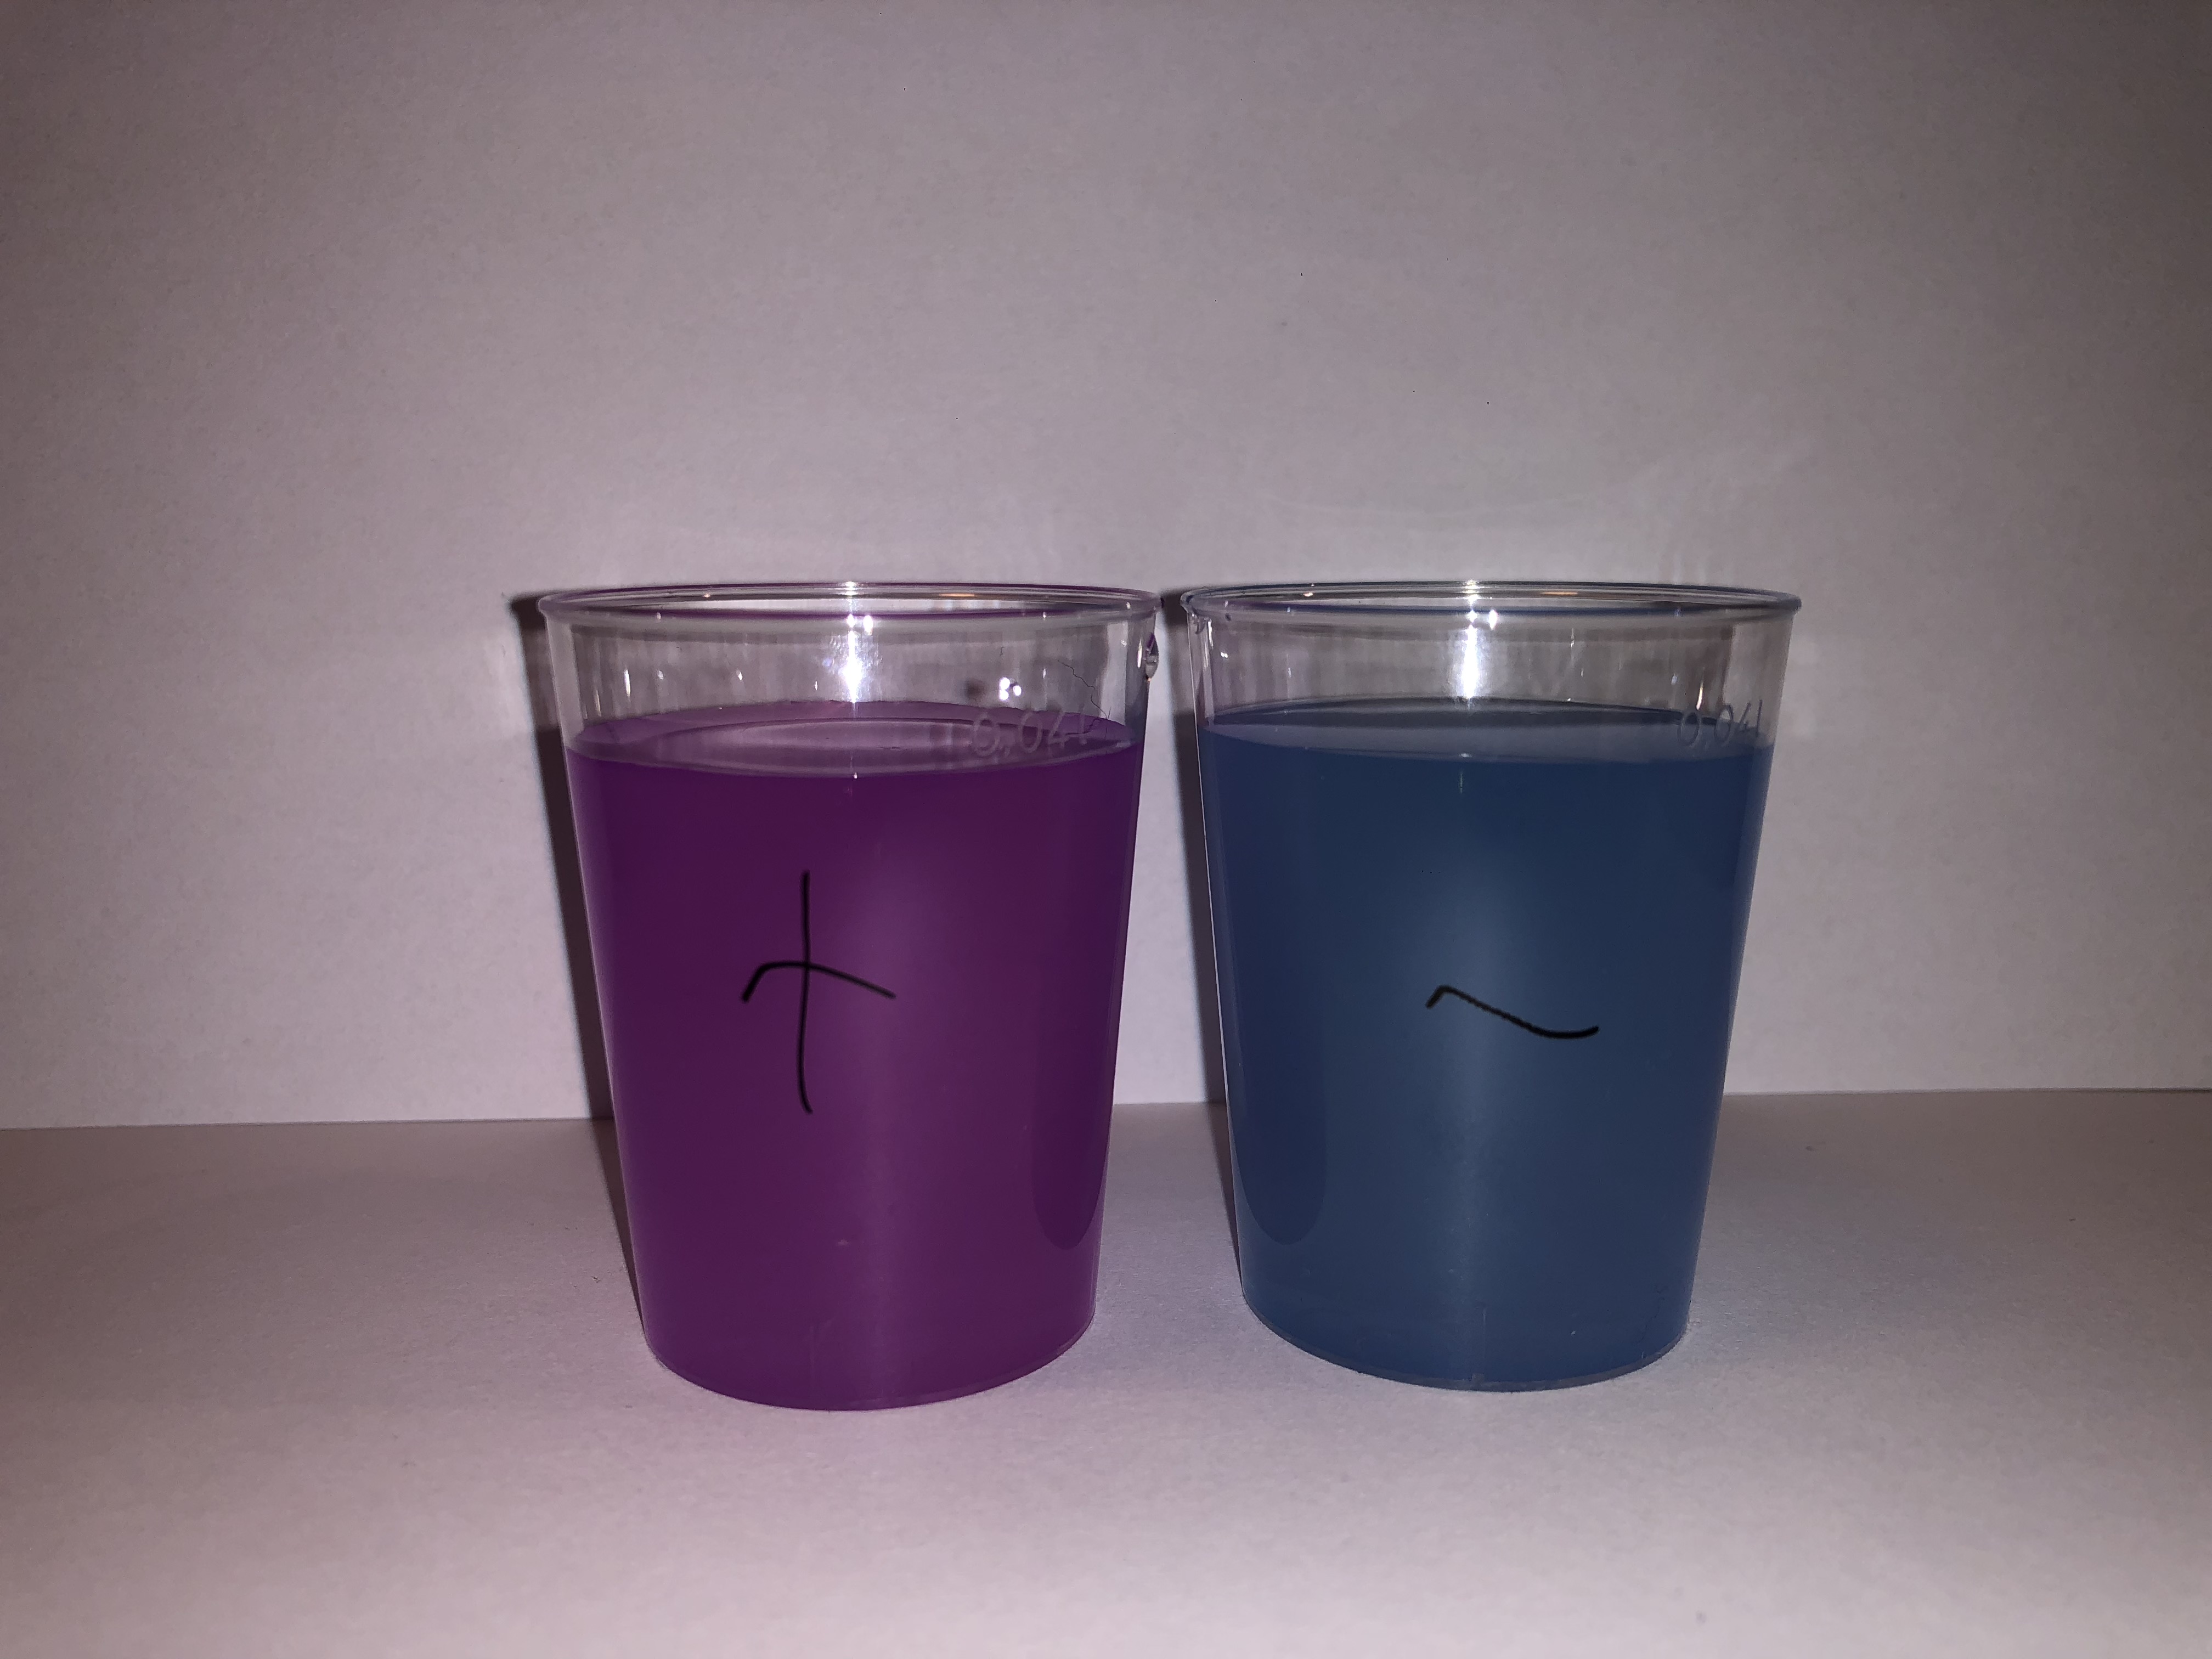
The Biuret reagent has been added to two solutions to test whether they contain proteins. In the solution on the left, the Biuret reagent has turned purple, indicating that proteins are present. In the solution on the right, it has remained blue, indicating that there are no proteins present. Image: Biureedireaktsiooni tulemus.jpg by Ykskaks3 on Wikimedia Commons (CC BY-SA 4.0 - https://creativecommons.org/licenses/by-sa/4.0/deed.en)
Testing for lipids
To test for the presence of lipids in a sample, you carry out a procedure called the emulsion test.
The steps of the emulsion test are as follows:
- Place the sample in a test tube.
- Add ethanol to the sample and shake the test tube to mix the ethanol with the sample.
- Allow the contents of the test tube to settle.
- Pour the mixture into a test tube containing water.
If lipids are present, a milky-white substance - called an emulsion - will appear in the tube. If lipids are absent, a milky-white emulsion will not appear.

Testing for lipids with the emulsion test
Summary
The tests for glucose, starch, protein and lipids are summarised in the table below:
| Biological Molecule | Test | Positive Result | Negative Result |
|---|---|---|---|
| Glucose | Add Benedict's solution and heat in a water bath for a few minutes | Turns brick-red | Stays blue |
| Starch | Add a few drops of iodine solution | Turns blue-black | Stays yellow-brown |
| Protein | Add Biuret reagent | Turns purple | Stays blue |
| Lipids | Emulsion test (add ethanol, shake, leave to settle, then add water) | Milky-white emulsion forms | No milky-white emulsion |
Flashcards
Flashcards help you memorise information quickly. Copy each question onto its own flashcard and then write the answer on the other side. Testing yourself on these regularly will enable you to learn much more quickly than just reading and making notes.
1/4
How do you test for glucose?
2/4
How do you test for starch?
3/4
How do you test for protein?
4/4
How do you test for lipids?
Donate
Please consider donating to support Mooramo. I am one person doing this whole project on my own - including building the site, writing the content, creating illustrations and making revision resources. By making a one-time or repeating donation you will buy me time to work on Mooramo, meaning that I can get new content on here more quickly.
Donate